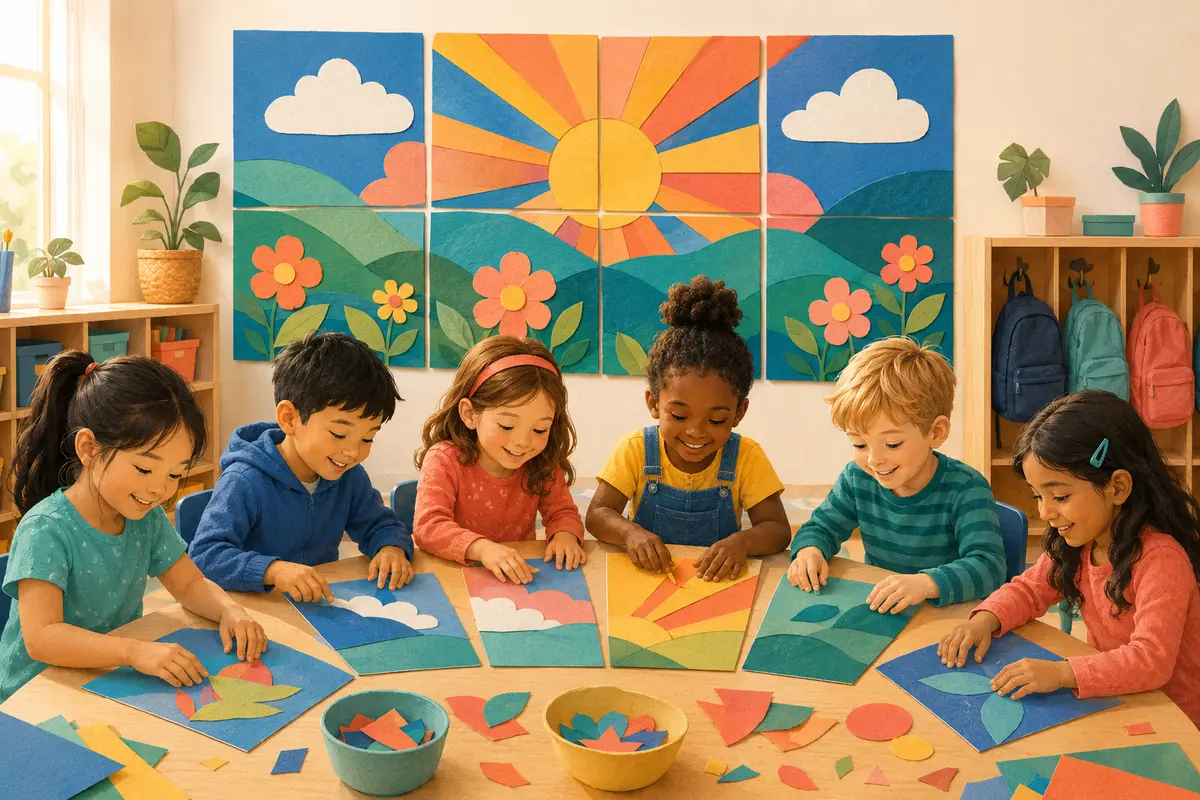
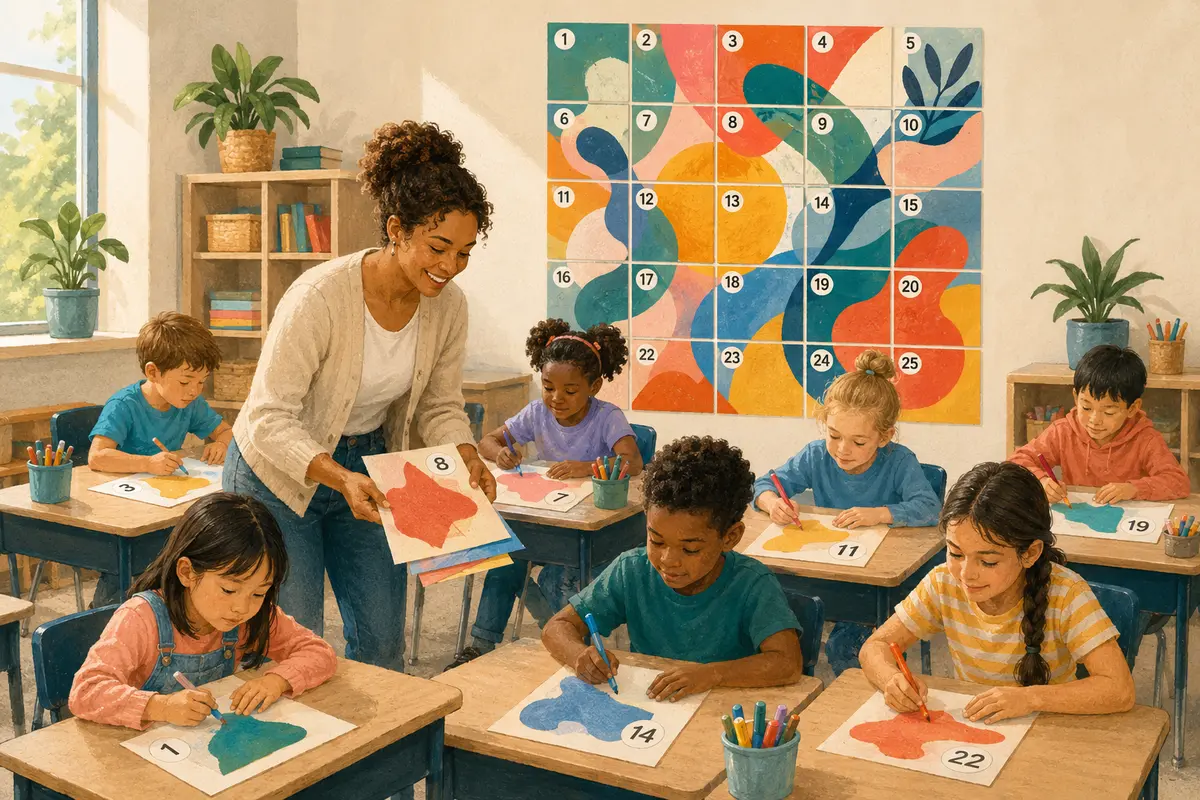
A collaborative poster gives every student one meaningful part of a larger class creation. The activity feels calm and independent while students work, then becomes a shared celebration when all 25 pieces come together.
What you need
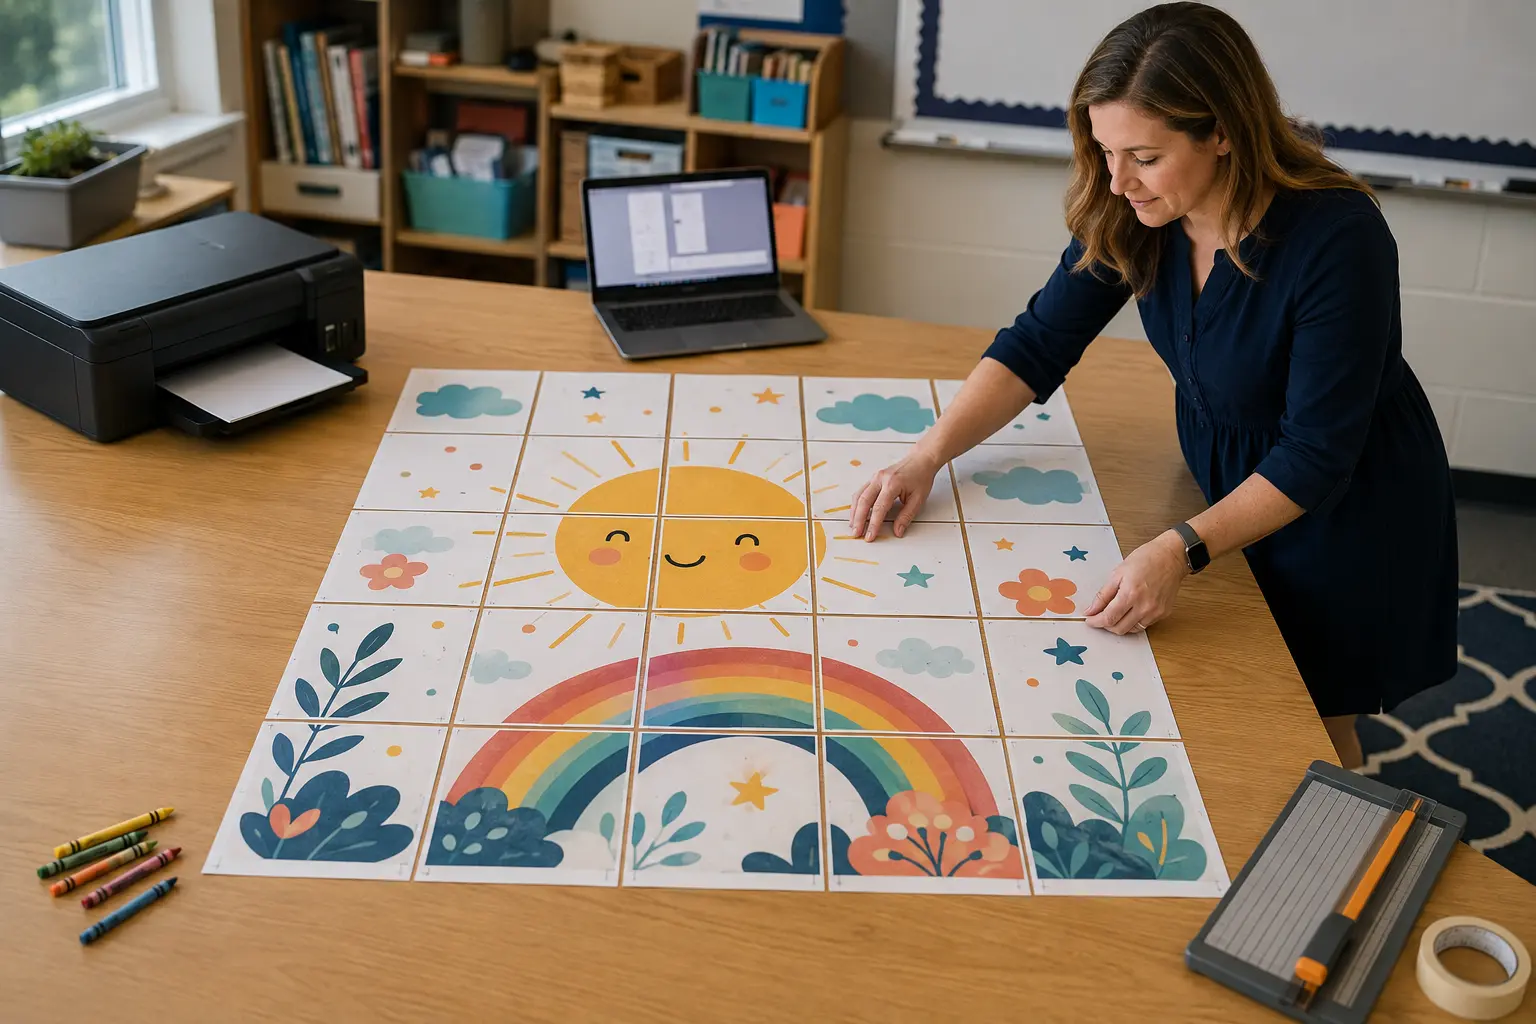
Choose a 25-page collaborative poster, print one numbered page per student, and prepare crayons, colored pencils, or markers. You will also need scissors, tape or glue, and a wall or bulletin-board space for assembly.
- Print at 100% or Actual Size for consistent pieces.
- Use regular letter-size paper for an easy, budget-friendly display.
- Keep a copy of the assembly guide beside you while arranging the pages.
1. Introduce the big picture
Show students the small preview of the completed design without assigning colors. Explain that each page may look abstract by itself, but every line connects with someone else’s work. This creates curiosity and reinforces the idea that each contribution matters.
2. Give every student one piece
Distribute the 25 numbered pages. If you have fewer than 25 students, invite early finishers to complete an extra square. For a larger class, pair students on selected pages or create two posters for different classroom areas.
3. Color with shared expectations
Let creativity stay individual while setting two simple expectations: fill the whole page and take care around the border lines. Students do not need to match colors across pages—the variety is what makes the final poster feel alive.
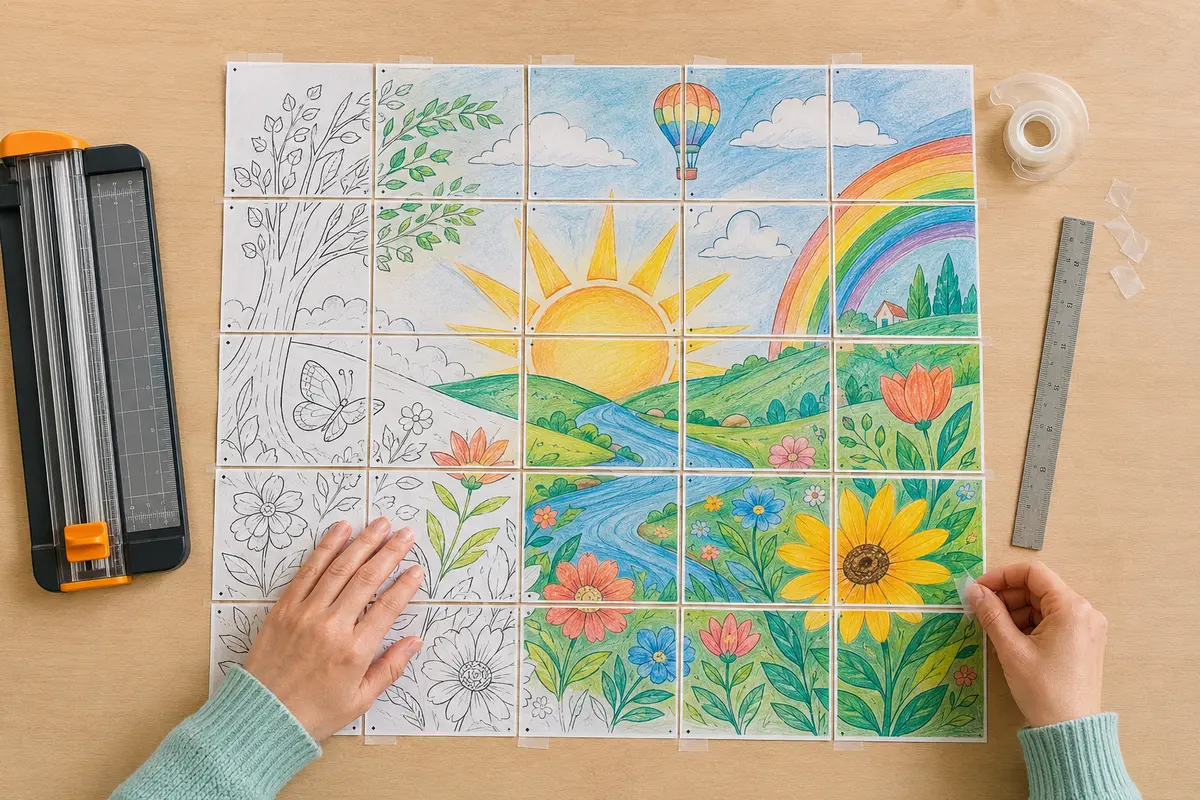
4. Assemble the class artwork
Collect the pages, place them in numerical order, and arrange them on the floor before attaching anything. Build one row at a time. Tape the pages from the back for a flexible poster, or glue each page onto bulletin-board paper for a sturdy display.
- Ask students to predict the image as each row appears.
- Photograph the separate pieces and the finished display.
- Add a class title or student names around the border.
Turn the display into reflection
Finish with a two-minute class conversation: What changed when all the pieces were combined? How did individual choices improve the whole? This connects the art project to teamwork, classroom community, and belonging.
Ready to create together?
Choose a printable, give every student a piece, and watch the big picture come to life.
Browse all collaborative posters ↗