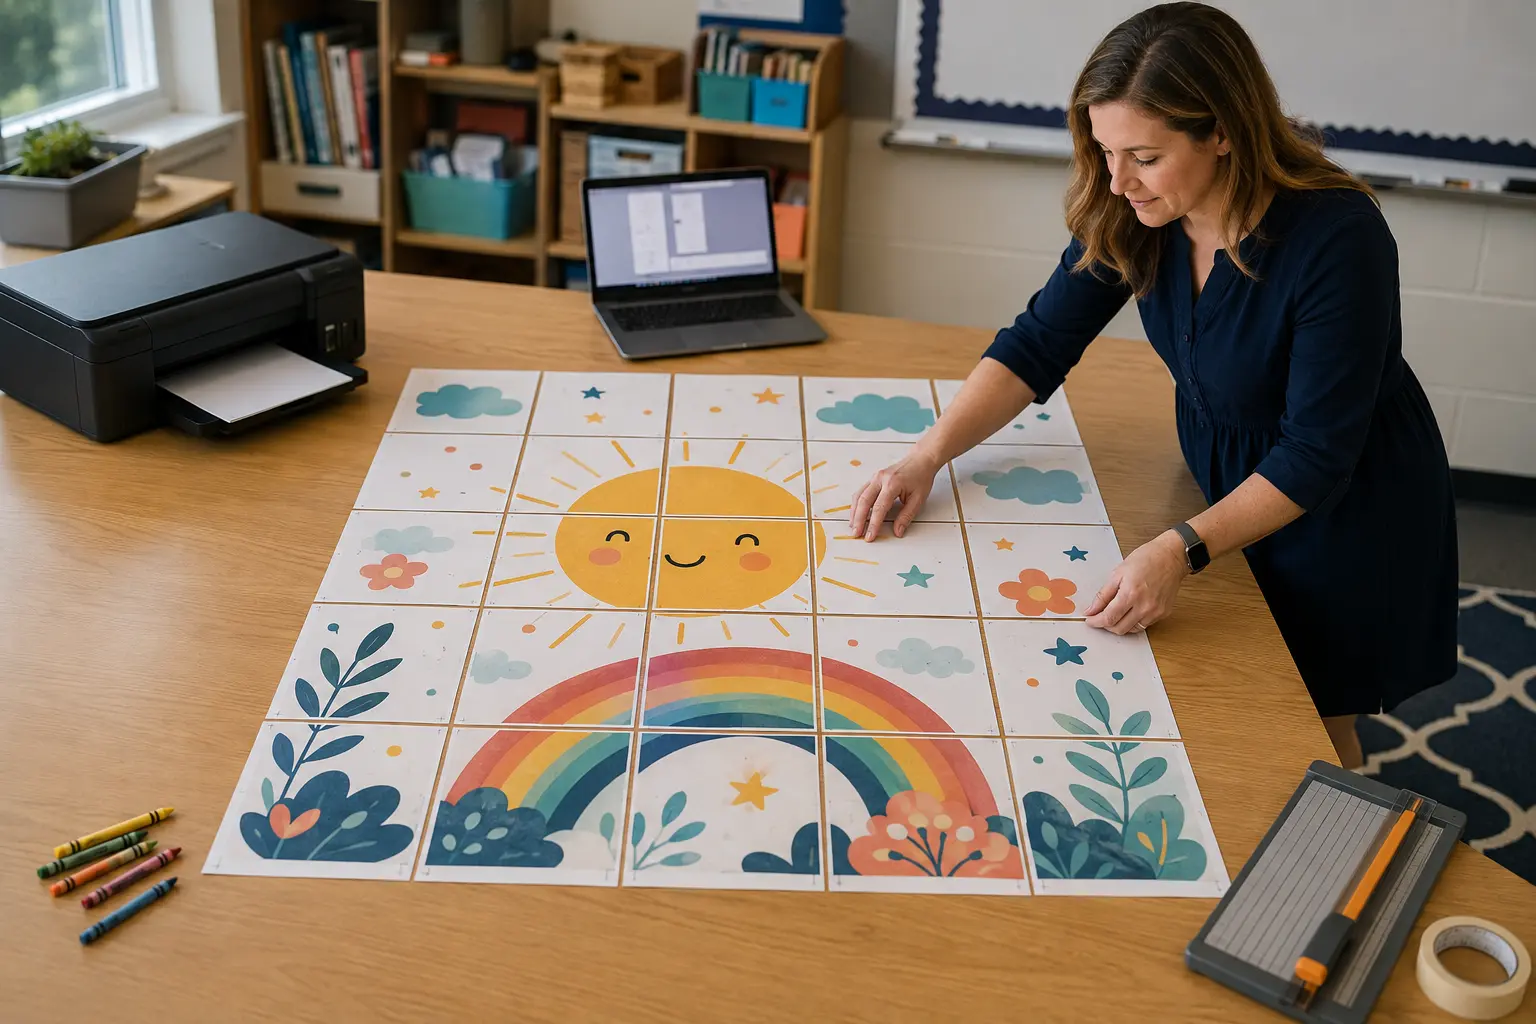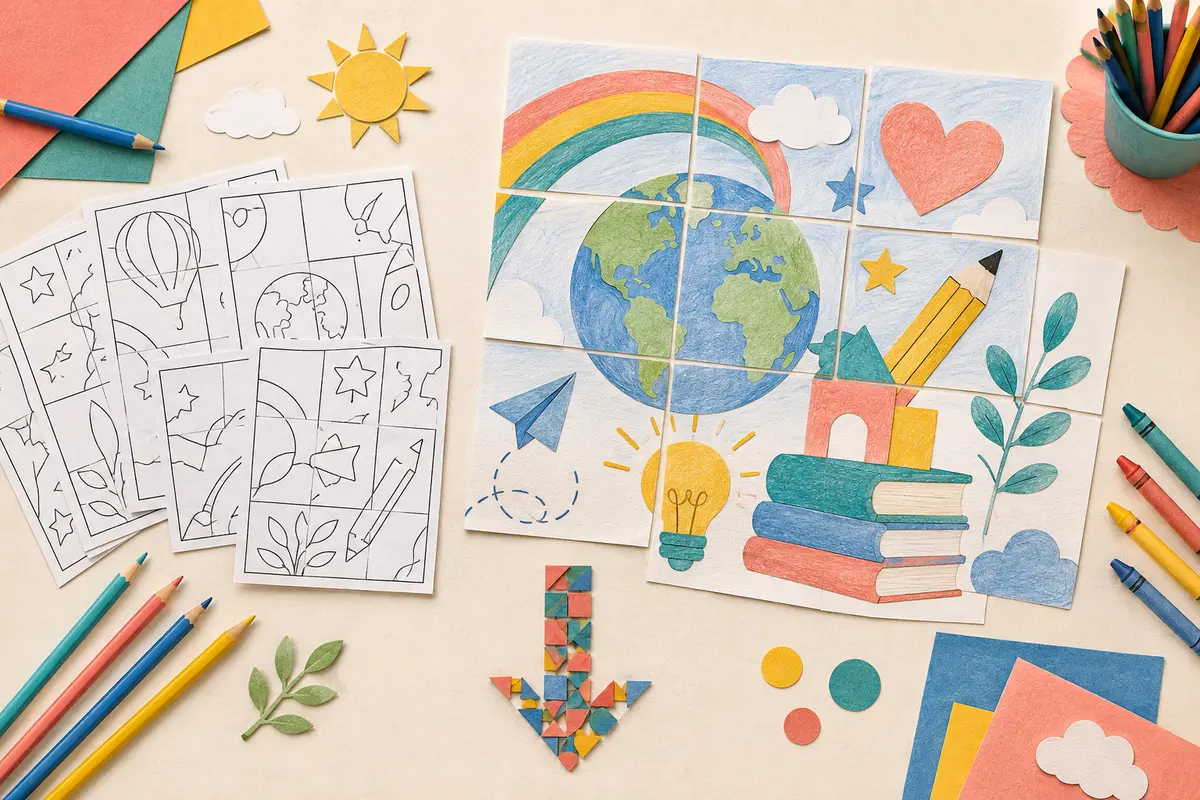
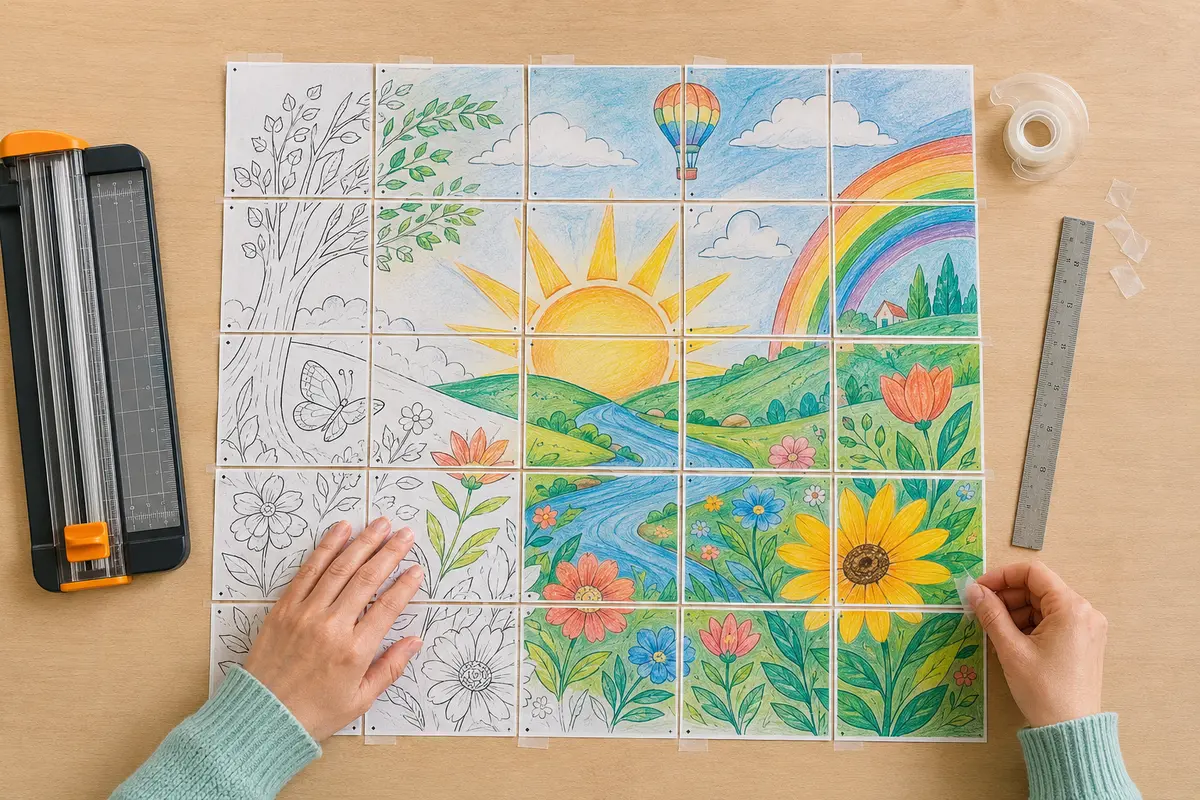
A great collaborative poster starts with consistent printing. These settings and assembly steps help all the lines meet correctly and make the finished display easy to hang.
Check the file before printing
Download the PDF to your device instead of printing from a browser preview. Open it in a PDF reader, confirm the total page count, and identify the numbered student pages and any separate instructions or preview pages.
Use the right printer settings
Select US Letter paper unless the product instructions say otherwise. Choose Actual Size or 100% scale so every page uses the same proportions. Turn off options such as Fit to Page if they create different margins. Print one test page before sending the full set.
- Use black-and-white or grayscale mode for coloring pages.
- Choose normal quality for crayons and high quality for fine marker work.
- Print single-sided so no design shows through from the back.
Trim only when the design requires it
Many classroom posters can be assembled with their white margins intact. If you prefer seamless joins, use a paper cutter and trim the same edges on every sheet. Consistency matters more than removing every small gap.
Arrange before attaching
Place all finished pages on a clean floor or large table. Sort by page number, then build the top row from left to right. Add each row underneath and check the miniature guide before taping or gluing.
Choose an assembly method
For a lightweight display, align the sheets face down and tape the seams on the back. For a bulletin board, attach pages directly to backing paper one row at a time. For a reusable display, laminate individual pages after coloring and connect them with clear tape.
Fix common problems
If lines do not meet, first check page order and orientation. If the image is too large for the wall, print again using a consistent reduced scale on every page. If a page is missing, reprint only that numbered sheet at exactly the same setting.
Ready to create together?
Choose a printable, give every student a piece, and watch the big picture come to life.
Find your next poster project ↗Frequently asked questions
Which print settings should I use for an already-tiled poster?
Follow the paper size and scale in the downloaded instructions. Actual Size or 100% is appropriate when the file is designed for that setting. Print a single test tile, then keep the same settings across the complete set.
Should I trim every white border?
Follow the resource instructions and preserve any joining tabs. Lay out neighboring pages before cutting. Some designs use an overlap or tabs, so removing every white edge can make assembly harder.
Why do the lines on neighboring pages fail to meet?
Check the page numbers, orientation, paper size and print scale first. Compare the arrangement with the assembly map. A tile printed using a different scale should be reprinted at the same setting as the others.
Can I replace one damaged or missing tile?
Yes. Select only the required page in the PDF reader and reprint it with the original paper size, orientation and scale. Check its position against the assembly map before attaching it.